
Overview
- Metal Pt. II: The Phoenix Cannon is a tier 5 raid in the Metal Part II episode. It is also available as elite version.
- Combat Rating: 210 or better
- For the Event Version – look for Metal Pt. II: The Phoenix Cannon (Event) in the On Duty Menu under the Events Tab.
- Minimum Level: 15.

Story
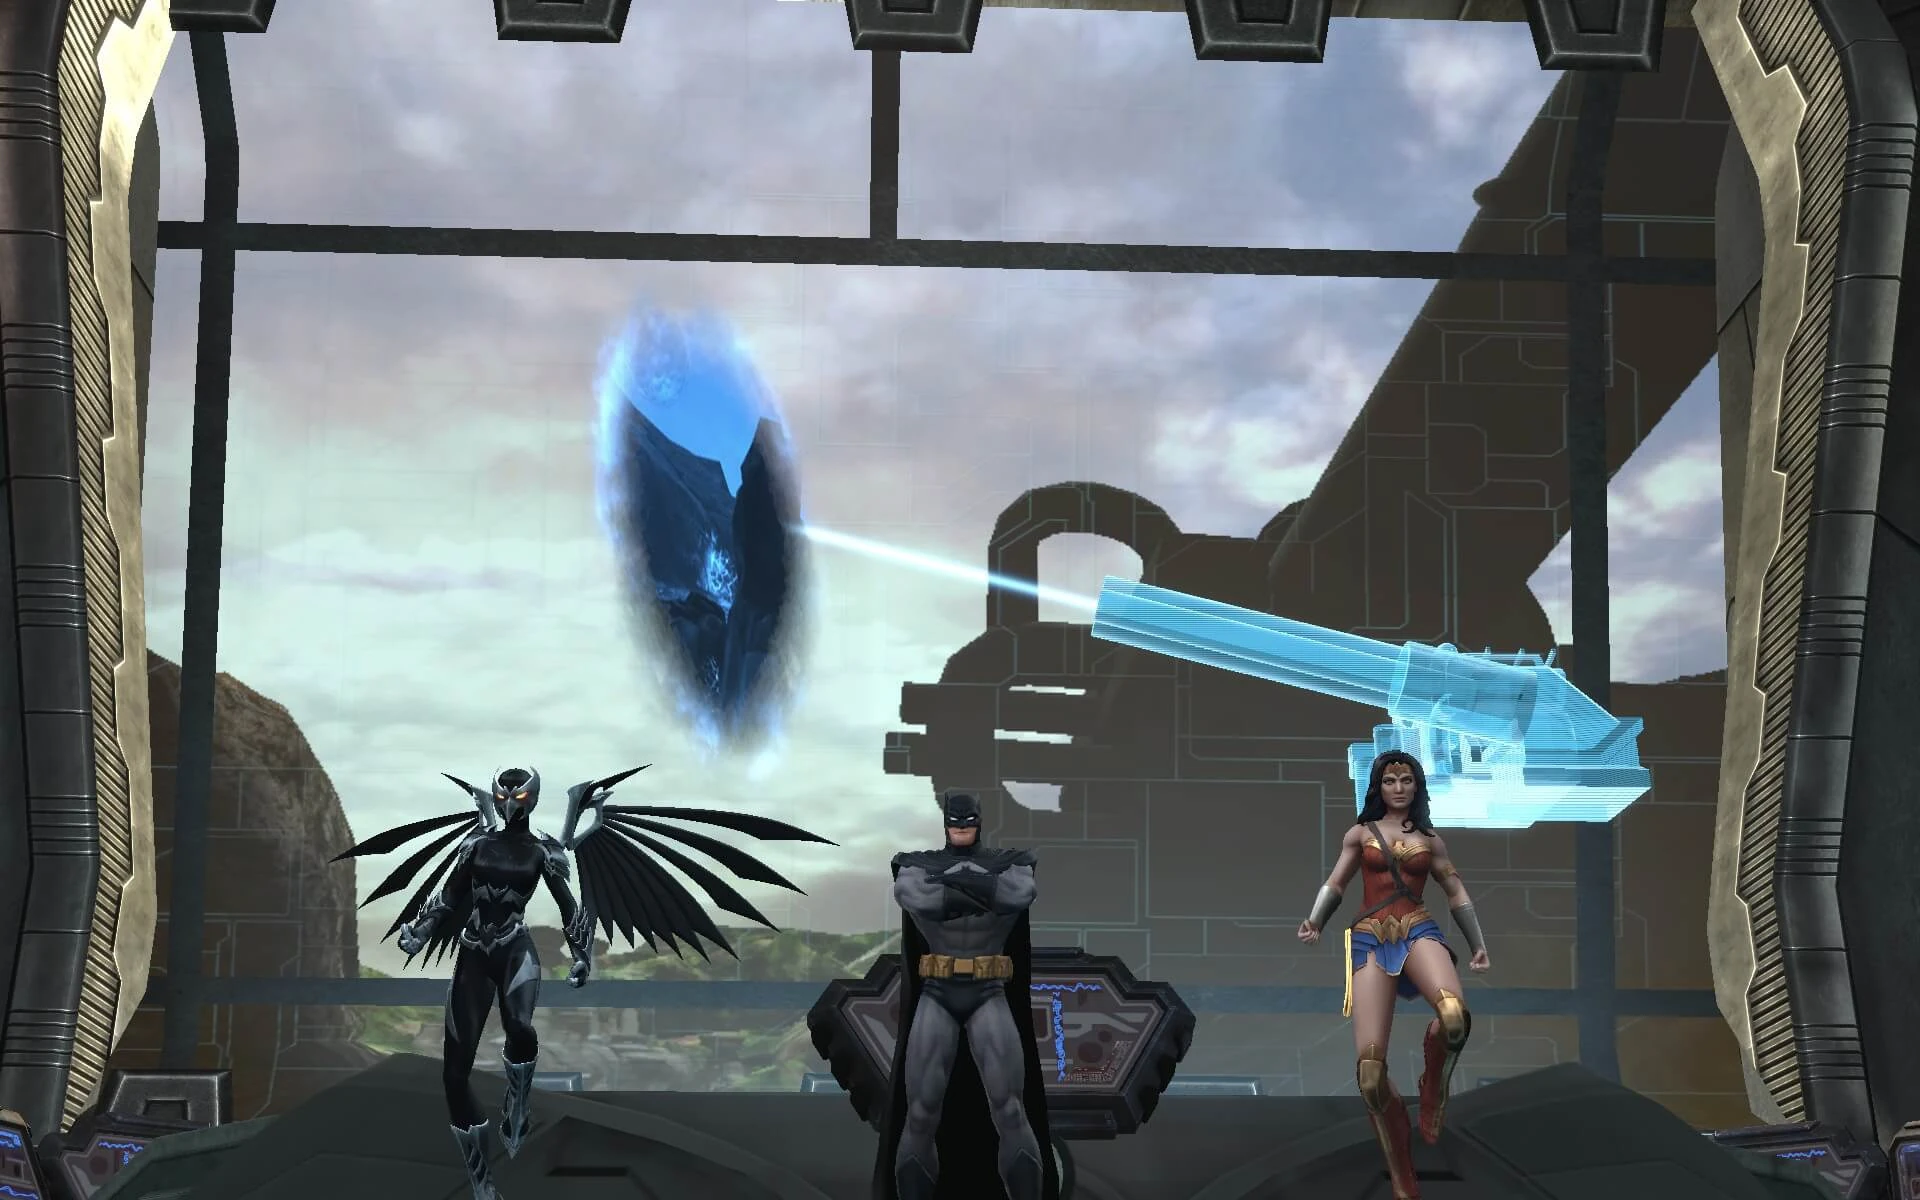
- It's time to deal with the Phoenix Cannon. Batman plans to reconfigure the cannon using the Key of Atlan and create an entrance into the Dark Multiverse. If successful, it'll open a path to Barbatos, but failure could mean the Phoenix Cannon is used to destroy the Earth! Meet Batman, Wonder Woman, and Hawkgirl at the Phoenix Cannon Military Base.
Characters
- Wonder Woman
- Hawkgirl
- Batman
- Lady Blackhawk
- The Merciless
- The Red Death
- The Drowned
- Dawnbreaker
- Lieutenant Thrasher
- Quartermaster Andar Thai
- The enemy combat rating is 293.
Related article links (10)
Wonder Woman · Hawkgirl · Batman · Lady Blackhawk · The Merciless · The Red Death · The Drowned · Dawnbreaker · Lieutenant Thrasher · combat ratingLocations
Related article links (1)
Phoenix Cannon Military BaseMap
Walkthrough
- You start the raid at the entrance and rendezvous with Hawkgirl and other Thanagarians. You then proceed through a series of hallways and defeat Thanagarian enemy adds. Eventually you enter a large room, where Lieutenant Thrasher betrays the group and gives Hawkgirl a card that transforms her into Lady Blackhawk. Lady Blackhawk then becomes brainwashed and becomes aggressive towards the raid group.
First boss: Lady Blackhawk
- Recommended group setup for regular: 1 Tank, 1 Heal, 1 Controller, 5 DPS Recommended group setup for elite: 1-2 Tanks, 1-2 Heals, 1 Controller (with high Dominance stat), 3-5 DPS
- Fairly straightforward fight in regular. In Elite one of the more difficult boss fights for elite by DCUO standards.
- Mechanics:
- Lieutenant Thrasher joins the fight as a higher health add.
- Various add waves will join the fight, these should be KO'd as soon as possible especially in the elite version. Pay particular attention to the Metal Thanagarian Suppressor, who will stun you, dealing damage over time to you ( Suppression) and you won't be able to use your abilities. Given sufficient dominance, in the elite version especially it is highly recommended that the controller stuns this add to stop it from doing this to group members. You can KO it however another of this particular add will spawn in its place. Careful of add spawns in general as they spawn on the sides of the room and may coincide with the Dark Energy phase in the elite version - more on this later.
- After Lady Blackhawk has taken some health, she will ground the group and stun them ( War Cry), before charging towards a random player. This does moderate damage and knock back in the regular version, however in the elite version you will need to block this charge otherwise it will KO you. Upon the charge impact (if the player hasn't blocked in time) tornado AOEs ( Spinning Winds) will spawn, which do considerable damage over time if players stand in them for too long. Even in the regular version these AOEs can KO if players stand in them for a while, so avoid these AOEs if possible.
- Battle Stun: A random player in the group will get stunned. If the player breaks out of the stun while close to another player, the nearby affected player will take significant damage via a dark cosmic energy and will also be stunned. If that player then breaks out while close to another player (including the player that was initially affected), this will deal even heavier damage to that player. This may KO especially in elite, especially with other mechanics ongoing. Note that with this stun it will only stun a particular player, whereas with War Cry that stun will also ground players and it will affect all players in the group at the same time.
- Razor Feathers: Lady Blackhawk will do a 360 cone attack, where she will do 4 black feather cone attacks, starting north, then east, then south, then west. These KO on impact in the elite version unless the player is either blocking or stood diagonal from where Lady Blackhawk is situated at the time.
- Occasionally Lady Blackhawk may fly in the air then swoop down and charge a random player. This should be blocked to mitigate incoming damage however it can still knock back players on impact.
- Eternal Anguish: Lady Blackhawk may stomp on the ground, dealing raidwide damage via a shockwave.
(Elite Only) Dark Energy Phase:
- A fairly tricky mechanic by DCUO standards especially considering that adds/boss can still be a threat to the group during this.
- This phase will commence with Lady Blackhawk saying in VA: "Your world is lost. Accept your fate". This occurs again when the phase returns.
- Text will appear on-screen stating: "Taking the blast from a SMALL pocket of DARK ENERGY will protect you from the large one!" Batman will also state in VA "Let one of the smaller blasts hit you. That will repel the larger blast"
- Two smaller red energy with a timer will spawn along with a large red energy with a somewhat slower timer. Everyone in the group should be stood directly next to a smaller red energy around the time its respective timer ends. This will be indicated in the combat log as Small Pocket of Dark Energy, which will do minor to moderate damage to affected players. Failing to be hit by this in time will cause the player to be KO'd by the Large Pocket of Dark Energy when its timer runs out shortly after. Also don't go to the bigger red energy by mistake, this is usually situated in the middle top or bottom of the room. There is one smaller red energy to the left side of the room and one to the right side of the room, sometimes northwest/northeast or southwest/southeast.
- While the principle of this mechanic is straight forward and it is clearly communicated through on-screen text and VoiceOver, the adds and boss are still a threat to the group and therefore makes it complicated and perhaps RNG in some situations.
- One possible strategy is to have one tank (or both tanks) keep the boss and adds on the left small red energy while the rest of the group stack on the other small red energy on the right side of the room. However this doesn't take into the situation that a Metal Thanagarian Suppressor add may be present and may stun and slow movement of random players unless stunned by the controller, in which case the controller may need to stun this add and move it towards one of the two small red energies in time for its timer to run out so the controller still gets hit by Small Pocket of Dark Energy and survives the phase.
- The other more unlucky situation that can occur is that Lady Blackhawk can fly in the air, then swoop down and knock back the group just as the timer goes off, meaning they miss the incoming damage they need to take to survive the phase and therefore cause an inevitable group wipe.
- Adds can also spawn during this phase depending on how much damage is done to the boss, which can cause complications. Be careful with how you manage damage output towards the boss especially during these phases.
- It is best practice to block while stood next to the smaller red energy, not blocking is too risky especially if adds/boss are close by.
- You will need a competent healer for elite as such, and either 2 tanks to split the incoming damage/complications from the adds and boss, or one tank but very high damage output from the DPS to KO adds as soon as possible to minimise the risks during the Dark Energy phases.
- Once you have defeated Lady Blackhawk she will no longer be brainwashed and will assist the group further into the Phoenix Cannon Military Base.
- You will then navigate through a series of hallways and KO more metal/Thanagarian adds. Eventually you will encounter a room with a locked door and three colours above it in a set order, and three coloured platforms matching those colours in the room. If for example the order of the colours above the door is red, yellow, blue, then you will need to KO a Metal Thanagar Officer on a red platform, then the next Metal Thanagar Officer that spawns on a yellow platform, and then the last Metal Thanagar Officer that spawns on a blue platform. There will be other adds to KO as well. Do not KO Metal Thanagar Officers on the wrong platform or no platform as they won't count and you will be stuck in this room for longer. Once you have completed this you can progress to the next room where the final boss encounter will be.
Last boss: Dark Knights (The Drowned, The Merciless, Red Death, Dawnbreaker)
- Recommended group setup for regular: 1 Tank, 1 Heal, 1 Controller, 5 DPS Recommended group setup for elite: 1-2 Tanks, 1 Heal, 1 Controller , 4-5 DPS
- Fairly straightforward fight in the regular version. Elite can be tricky if the group isn't focused on certain mechanics.
- Adds can spawn, usually after a Dark Knight sub boss is defeated. Try not to stand on a Pool of Metal or more adds will spawn, and this may also deal damage over time to the affected player.
- A Volatile Metal add may spawn. When this add is defeated it will produce a shockwave, dealing raidwide damage and knockback to the group. (This mechanic does not have a name specifically in the combat log).
- Furthermore once a Dark Knight sub boss is defeated the other Dark Knight subboss or sub bosses restore considerable health.
- The Drowned
- Call of the Deep: The Drowned will have a skull icon above her head and wait a bit, before summoning a Call of the Deep animation on all players in range. This does moderate damage and stuns players.
- (Elite only) Staff Beam Sweep: If The Drowned isn't defeated first, she may do another skull where she does a laser 360 clockwise. This should be blocked or it will KO affected players in range.
- The Drowned will spawn a Dark Water add which may give a random player/s Dark Water Suffocation debuff. This will be indicated by onscreen text. This can be cleansed by healing the affected player/s to full health.
- The Merciless
- Do not use a Supply Drop or Orbital Strike while in range or direct combat with The Merciless under any circumstances. If you use a Supply Drop while The Merciless is active in the boss encounter, he will have a red skull icon above his head while looking at the player who used the Supply Drop, before leaping over to the player and doing a powerful Blade Storm attack, dealing massive damage to affected players in range.
- The Merciless may do a pull ability, this can be tricky with other mechanics (such as Ring of Light) or if metal pools are in line of sight between the player and The Merciless. Preferably block or have the tank pop immunity.
- Spinning Cleave: The Merciless may spawn a spinning blade which does damage over time and knocks back affected players. This will usually follow a particular player for a time.
- Red Death
- Speed Force Corruption: Red Death will give a random player a red arrow proximity marker. This player should avoid getting too close to other players or the other players will take damage over time.
- Dark Energy Tether: One player will become a skeleton and be tethered to another player. The two players should move next to each other to cleanse the skeleton effect and the tether. If this isn't done in time it does considerable raid wide AOE damage to the group and knock back players.
- Red Death may spawn projections in the fight which may do damage over time if players are affected directly.
- Dawnbreaker
- It is best practice to not be in melee range of Dawnbreaker, as his Mangle or Outrage abilities can hit hard, especially in the elite version.
- Ring of Light: If Dawnbreaker isn't defeated first, periodically he will spawn a Ring of Light somewhere in the room, which will be a green safe zone with a timer. This will be indicated in VoiceOver and on-screen text the first time this occurs. All players will need to see it and stand in the safe zone before the timer runs out. In the regular version it does considerable damage if players don't make it in time, however in the elite version this will KO anyone who isn't in the green safe zone. (In the combat log this mechanic doesn't have a name for the impact damage if players aren't in the safe zone, and implies Dawnbreaker is attacking the affected player directly)
- Abhorrent Blast: Dawnbreaker will have a red skull icon above his head, before shooting a green projectile at a targeted player, dealing damage and lifting that player into the air for a short time.
- Once you have completed this boss encounter the raid is over.
Rewards
- 10 Source Marks, Loot Items
- 1 Catalyst (Augments)
- Metal Part II: Large Treasure Box (members/owners only)


Briefings and Investigations
Related article links (2)
Battle Lines and Frontlines (Investigations) · Hawkgirl's Quandary (Briefings)Feats
- A Fate Worse Than Death: Defeat Lady Blackhawk in Metal Pt. II: The Phoenix Cannon (Normal or Elite) without knocking out Lieutenant Thrasher. (25 Points), grants title: the Merciful
- Bio of a Security Door: During Metal Pt. II: The Phoenix Cannon (Normal, or Elite), gain access to the Phoenix Cannon Control Room without making any mistakes 6 times (25 Points)
- Darkened Knights (Elite): Complete: During Metal Pt. II: The Phoenix Cannon (Elite), complete the following feats: (25 Points), gants title: of the Resistance; Darkened Knights (Elite): The Drowned and Dawnbreaker; Darkened Knights (Elite): The Merciless and The Drowned; Darkened Knights (Elite): Red Death and The Merciless; Darkened Knights (Elite): Dawnbreaker and Red Death
- Darkened Knights (Elite): Dawnbreaker and Red Death: During Metal Pt. II: The Phoenix Cannon (Elite), win the final fight by defeating Dawnbreaker first and Red Death last. (10 Points)
- Darkened Knights (Elite): Red Death and The Merciless: During Metal Pt. II: The Phoenix Cannon (Elite), win the final fight by defeating Red Death first and The Merciless last. (10 Points)
- Darkened Knights (Elite): The Drowned and Dawnbreaker: During Metal Pt. II: The Phoenix Cannon (Elite), win the final fight by defeating The Drowned first and Dawnbreaker last. (10 Points)
- Darkened Knights (Elite): The Merciless and The Drowned: During Metal Pt. II: The Phoenix Cannon (Elite), win the final fight by defeating The Merciless first and The Drowned last. (10 Points)
- Darkened Knights: Complete: During Metal Pt. II: The Phoenix Cannon (Event or Normal), complete the following feats: (25 Points), grants title: The Tenacious; Darkened Knights: The Drowned and Dawnbreaker; Darkened Knights: The Merciless and The Drowned; Darkened Knights: Red Death and The Merciless; Darkened Knights: Dawnbreaker and Red Death
- Darkened Knights: Dawnbreaker and Red Death: During Metal Pt. II: The Phoenix Cannon (Event or Normal), win the final fight by defeating Dawnbreaker first and Red Death last. (10 Points)
- Darkened Knights: Red Death and The Merciless: During Metal Pt. II: The Phoenix Cannon (Event or Normal), win the final fight by defeating Red Death first and The Merciless last. (10 Points)
- Darkened Knights: The Drowned and Dawnbreaker: During Metal Pt. II: The Phoenix Cannon (Event or Normal), win the final fight by defeating The Drowned first and Dawnbreaker last. (10 Points)
- Darkened Knights: The Merciless and The Drowned: Metal Pt. II: The Phoenix Cannon (Event or Normal), win the final fight by defeating The Merciless first and The Drowned last. (10 Points)
- Eruption Disruption (Elite): During Metal Pt. II: The Phoenix Cannon (Elite), win the final fight after defeating Dawnbreaker last and no one is damaged by his Dark Construct Eruption (25 Points)
- Eruption Disruption: During Metal Pt. II: The Phoenix Cannon (Normal), win the final fight after defeating Dawnbreaker last and no one is damaged by his Dark Construct Eruption (25 Points)
- Pool with a View: Complete Metal Pt. II: The Phoenix Cannon (Normal or Elite) without clearing any pools of metal (25 Points)
- The Quicker Picker-Upper: During Metal Pt. II: The Phoenix Cannon (Normal or Elite), clear 9 pools of metal in the Dark Knights boss fight within 20 seconds of their appearance. (50 Points)
- Vola-Style (Elite): Complete Metal Pt. II: The Phoenix Cannon (Elite) and defeat all Volatile Metal before they reach their red (final) stage. (25 Points)
- Vola-Style: Complete Metal Pt. II: The Phoenix Cannon (Event or Normal) and defeat all Volatile Metal before they reach their red (final) stage. (25 Points)
Related article links (8)
A Fate Worse Than Death · Lady Blackhawk · Lieutenant Thrasher · title · Dawnbreaker · Red Death · The Merciless · The DrownedTrivia
- Metal Pt. II: The Phoenix Cannon is an unusually short raid and can be completed quicker than almost any other raid at the relevant level.
- Metal Pt. II: The Phoenix Cannon refers to the events of Metal Pt. II: Damage Control, where the players secure the Key of Atlan from The Silent School.
- There is a likely chance that if you queue into this instance on PS4 or PS5, that the game will crash. This is a known issue and to date no fix has been implemented.