
Overview
- BoP: The Clock Tower is a tier 5 raid in the Birds of Prey episode. It is also available as elite version.
- Combat Rating: 210 or better
- For the Event Version – look for BoP: The Clock Tower (Event) in the On Duty Menu under the Events Tab.
- Minimum Level: 15.

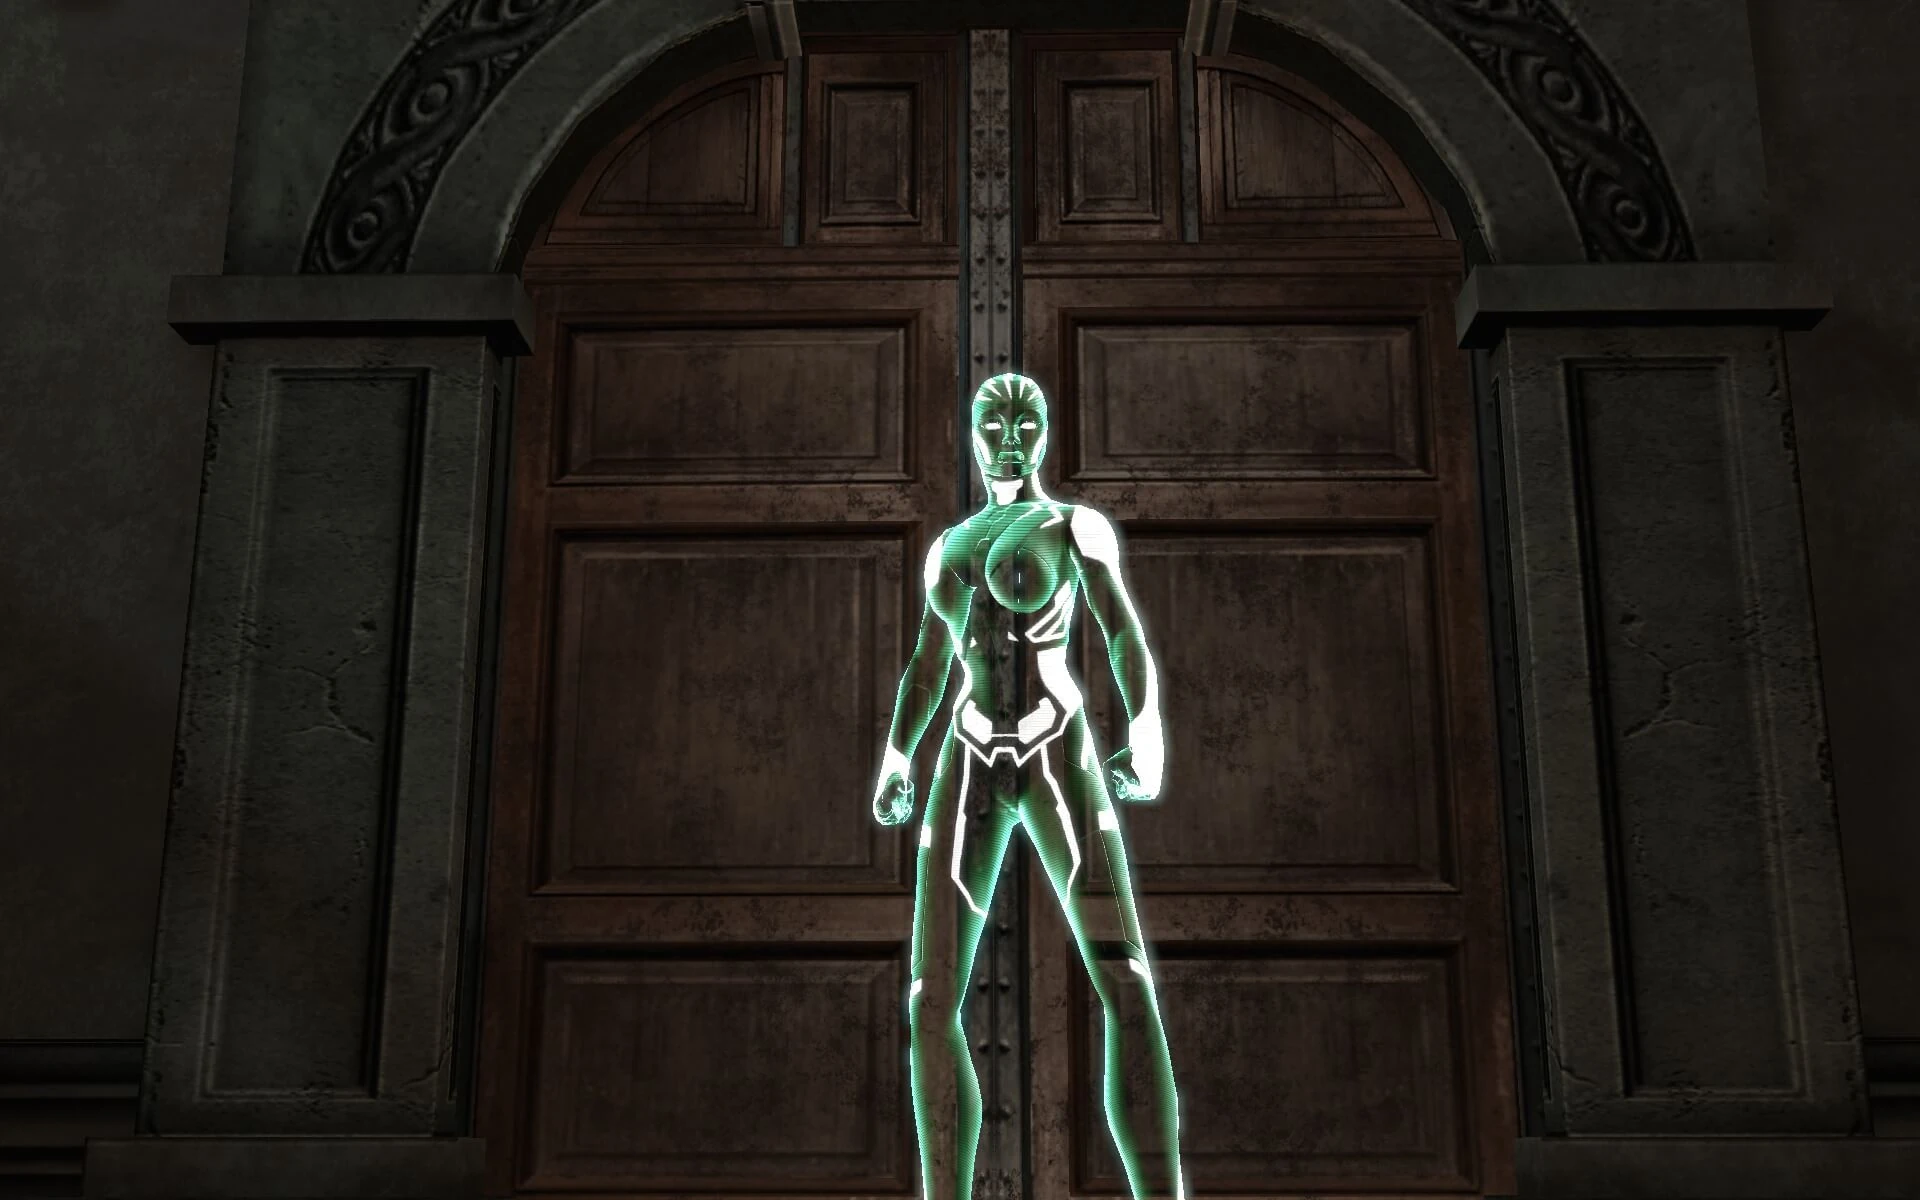
Story
- You’ve received a distress call from Oracle! Lex Luthor has initiated a direct attack on her safe house, the Gotham City Clock Tower, and has taken control of Oracle's security measures, turning them against her. Get to the Clock Tower and protect Oracle from her own technology and from a new danger even she never saw coming!
Characters
Related article links (7)
Black Canary · The Huntress · Harley Quinn · Poison Ivy · Catwoman · Reprogrammed Oracle-Bot · combat ratingLocations
Related article links (1)
Gotham Clock TowerMap
Walkthrough
- The raid begins with the group navigating through the Clock Tower, defeating ORCL bot add mobs along the way. One notable nuisance in the mobs is the Trap Drones, which can target a player and prevent them from using abilities for a significant period of time. They do not otherwise attack or move. These can be evaded if the player stays far enough away and doesn't activate them (there is a feat for this in the elite version), but this is tricky for the entire group to pull off for the entire raid.
- Eventually you will encounter Black Canary, The Huntress, Poison Ivy and Catwoman having a disagreement in a bigger room. Depending on your faction you will either fight Poison Ivy and Catwoman as heroes, or Black Canary and The Huntress as villains.
First boss: Poison Ivy and Catwoman
- A fairly straightforward boss encounter in the regular version. In the elite version, Catwoman's attacks can hit tanks quite hard, and if the group isn't positioned well easy KOs are possible.
- Some groups may prefer two tanks for this boss encounter in the elite version, as if the two bosses are close together they will buff each other.
- Recommended roles for regular: 4-5 DPS, 1 Controller, 1 Healer, 1-2 Tank. Recommended roles for elite: 4 DPS, 1 Controller, 1 Healer, 2 Tanks.
- Mechanics:
- On PS, Hold R1 to Block
- Both Poison Ivy and Catwoman (or the Huntress/Black Canary for villains) must be defeated at a similar time or they will rally one another. There will be onscreen text after one of them is defeated, stating: "They'll stand back up if you don't defeat both of them within a few seconds of one another!".
- It is also recommended to keep them separate, which is why for some groups two tanks are preferred. There may be an onscreen text pop-up stating: "They're more defensive when close together. Separate them!".
- There may be times where the bosses need to be moved together to mitigate attacks toward the group. There will be onscreen text when this occurs, stating: "They're in a fighting frenzy! Bring them close together to end it!". Both Poison Ivy and Catwoman will receive a red aura which will boost their damage, especially in the elite version. This buff ends when they are brought close together.
- Poison Ivy
- In the elite version, focus on lowering Poison Ivy first.
- Entangling Vines: Poison Ivy will have a red skull icon above her head, before unleashing vines on players in range. Affected players will take major damage.
- Strangle Root: Poison Ivy will plant a plant root on her target, dealing mild damage over time to the affected player.
- Catwoman
- It is best practice especially in the elite version for non-tank players to block when Catwoman has a red skull icon above her head. She may do her Whip Flurry attack towards other players in the group. This will do massive damage or even KO in the elite version if non-tank players affected were not blocking.
- Whip Flurry: Catwoman will have a red skull icon above her head while doing a 'Come on' emote. She will then do a scratching animation in front of her. Players affected will take multiple ticks of considerable damage.
- Caltrops Storm: Catwoman will occasionally drop spikes/shurikens on the ground, creating an AOE. Affected players will take considerable damage over time, so avoid these where possible.
- Whip Pull: Catwoman may use her whip to pull her target, dealing moderate damage to the affected player.
- Other mechanics:
- Trap Drone adds may spawn in the fight and stun/ground players, potentially in some cases causing affected players to lose their abilities for a time. Try to stay away from these where possible. (These can be turned off if players in the group have their Birds of Prey Adaptive Augments levelled)
ORCL Discharge Drone add mechanic (Elite only)
- ORCL Discharge Drone adds will spawn to assist the bosses in battle. These should be KO'd by the DPS in the group as soon as possible.
- Each ORCL Discharge Drone add will target a random player with a green arrow, then after a while that player will drop an electric AOE on the ground. This AOE does major damage over time to affected players ( Electrobeam).
- Ensure that if you are targeted with a green arrow that you place the electric AOE around the edges of the room, and not in the middle of the room. This mechanic is a damage/positioning check on the group.
Allied NPCs: The Huntress, Black Canary and Harley Quinn
- You will also have to avoid your allied NPCs' attacks.
- There may be an onscreen text pop-up stating: "Your allies are a bit overzealous. Watch out for their big attacks!".
- The Huntress
- Arrow Storm: The Huntress will have a red skull icon above her head, before firing arrows in front of her. Does considerable damage to affected players in front of her, so watch your positioning. (In the combat log in the hero version, it implies that the player is attacking themselves with Arrow Storm, but it is The Huntress hitting the affected player)
- The Huntress may have a Huntress Turret that will assist her in battle. While The Huntress is overzealous, her turret may hit group members with an Electric Arrow, dealing mostly mild damage.
- Black Canary
- Sonic Shriek: Black Canary unleashes a sonic blast that damages and knocks back all nearby targets.
- Sonic Stun: Warned by lethal attack icon. Black Canary points at a direction before screaming in a cone that constantly stuns, pushes back, and deals heavy continuous damage to all caught within.
- Harley Quinn
- Harley Quinn may do a doom spin attack, which may knockback nearby players (more info needed)
- Once Catwoman and Poison Ivy have been defeated at a similar time, the Birds of Prey will re-focus on the mission and the group will proceed up an elevator. Once up the elevator, the group will fight through more ORCL drones before getting to a lab room, where a Security Sequence is required to proceed.
- Security Sequence
- There will be various monitors with symbols that can be interacted with in a limited time. On the main monitor to the west of the room, this will show a sequence of symbols. The group must correctly get the correct matching symbol from the various monitors around the room to match the symbol displayed on the west monitor. If the group interact with the wrong symbol, or don't activate any symbols in time, the sequence will be incorrect and the group will have to start again.
- Meanwhile, ORCL add waves will swarm into the room, so the tank will need to keep aggro of these, with maybe a DPS helping defeat them, while the rest of the group focus on getting the sequence right to proceed further into the Clock Tower.
- Once six symbols have been matched correctly with the main monitor, the group will be able to proceed through the next room, up the stairs and to a Reprogrammed Oracle-Bot. (the group may defeat the ORCL adds spawned during the security sequence but this is optional)
Related article links (1)
lethal attackLast boss: Reprogrammed Oracle-Bot
- A fairly challenging boss encounter for a regular raid by DC Universe Online standards. The elite version of this boss encounter is even more difficult and likely one of the most complex boss encounters in the game. That being said, experienced players or players familiar with the mechanics may have little issues with this boss once they know the mechanics and positioning. The DPS will be expected to be competent and not reliant on channel abilities for best success, especially in the elite version.
- In the elite version voice chat may be recommended for best success, especially if group members aren't familiar with the mechanics or positioning required.
- Recommended roles for regular/elite: 5 DPS, 1 Controller, 1 Healer, 1 Tank
- On PS, Hold R1 to Block
- On PS, Hold Square to Lunge
- Mechanics:
Exostatic mechanic:
- Exostatic: A short while after you enter the room, you will be turned blue or red. If a blue player and a red player are near each other, constant shockwaves will deal massive unblockable damage to the whole room. There will be onscreen text for this stating: "Stay away from anyone with the opposite charge!". (In the combat log, this will display as the player's name of the player who is an opposite color to you and too close, and their Exostatic is dealing damage to you)
- To prevent this, you must arrange for players of each colour to be in separate areas, e.g. before going in, agree that "red players go south/left, blue players go north/right". She will also randomly change some of your colours when she falls below 75% and 50% (possibly more times) health. In elite, colors change much more often, therefore instead of clustering in two groups, all players must maintain sufficient distance from every other player. When a player changes colour, they will be stunned.
- If a player with blue/red is KO'd, they can still arc damage to the rest of the group if a player with the opposite colour moves close to them. As such, ensure that if you are reviving players that you are the same colour as the fallen player.
- Exobyte Overcharge: (Elite only) Starting when she reaches 66% health, the boss will arc a white beam to all players, and then shortly after pools of the opposite color will be generated beneath every single player. If you are blue, a red pool appears beneath you and vice versa. If you are in an opposite color pool, this causes constant massive raidwide damage, so dodge right away. (More info on this below)
- Magnetic Distortion: Warned by Lethal attack icon. She pulls in all targets in a large area. Block when you see the skull to avoid being pulled to the other side and triggering Exostatic.
- While she is under 50% health, she may randomly teleport a single player right on top of her. Run away quickly once teleported to avoid triggering Exostatic or Exobyte Overcharge.
Related article links (1)
Lethal attackOther mechanics:
- Electric Discharge: She spins around shooting a barrage of electric sparks, which could deal heavy damage if you are next to her.
- Exoblast: A shockwave that hits the whole room, but only once and not constantly. There is a similar ability to this called Shockwave.
- Electrosurge: The boss will target a player with a shock, dealing considerable damage, and stunning and grounding the affected player.
- Shock: The boss may have a red skull icon above her head while facing her target, before giving them an electrical shock. This deals damage over time to the affected player (usually the tank).
- Energy Beam: The boss may target the player with the most hate with a beam, dealing damage. This beam may arc to other nearby players or pets.
ORCL Pulse-Bot
- Later in the boss encounter, an ORCL Pulse-Bot will spawn to assist the Reprogrammed Oracle-Bot in battle.
- This robot will try to raise its hand in the air. When it does this, players should carefully lunge or stun the ORCL Pulse-Bot to interrupt it, without triggering Exostatic to other nearby players of the opposite colour. If the ORCL Pulse-Bot isn't lunged, stunned or CC'd, they will use their Electric Boom ability, dealing considerable raidwide damage (especially in the elite version).
- Defeat this add as soon as possible, especially if you are positioned nearer to the add.
- In the elite version two ORCL Pulse-Bots will spawn in different parts of the room, and one of the ORCL Pulse-Bots will spawn with a shield generated by two ORCL Shield Drone adds. This is a considerable damage check, as the ORCL Shield Drones will need to be defeated as soon as possible so the tank can pull the ORCL Pulse-Bot to the middle, and stop it from using its Electric Boom ability. Make sure Orbital Strikes/big supercharges/allies are saved for these ORCL Shield Drones as this part of the boss encounter can be make or break for the group even if the group is comfortable with the other mechanics.
Exobyte Overcharge - How to position (Elite only)
- Positions:
- Tank: You will be positioned in the middle of the room, with the boss.
- Controller: You will be positioned at the bottom (east) of the room, either near the entrance or either side of the entrance to the room. Make sure you are close to the wall/barrier.
- Heal: You can be positioned wherever, as long as you have sufficient distance from other players. Make sure that you are positioned close to the wall in the room. It is unlikely besides the beginning of the boss encounter that you will be able to spam Castor's Watch via an equipped Eye of Gemini artifact to provide nearby players with additional supercharge regeneration due to the mechanics of the fight, so focus on pure healing and make sure the group stays alive, as there will be a lot of damage being dealt to the group at various points during the boss encounter.
- DPS: Position in any remaining available spots where there is sufficient space between you and other players. Preferably there should be enough DPS on either side of the room (left or right) depending on where the ORCL Pulse Bots spawns later, especially the one with the shield drones. All DPS should be positioned close to the wall. Make sure you can target the boss and that your damage is competent but specifically max range damage, preferably not relying on channel abilities. You may have to stop damage in order to focus on placing your pool in the correct location, however some confident players may still be able to place pools while damaging the boss by target locking the boss (On PS, Hold L1 to target lock)
- When the boss gives all players a white beam, prepare to place an opposite colour pool. It may be best practice to block around this time as the boss may use her Magnetic Distortion ability.
- Once an opposite colour pool is placed, all players should then move to the right of where they were standing previously.
- The second time players place an opposite colour pool, they will need to stand in front of the pool for a short time, and the first pool they placed will disappear, allowing a safe spot for the player to return to their original position once that first pool disappears. Ensure that there is sufficient space between you and other players so that you can place pools perfectly in this cycle over the boss encounter. If players are too close or you and place pools too close to you or another player, note that this may cause issues later.
- This process will then start again and continue for the remainder of the boss encounter. Note that after the player has returned to their original position and then places their third opposite colour pool, they will need to stand slightly in front of it, wait for the second pool they placed to disappear, and then return to that position near the wall. There is a chance your colour may get changed so have this in mind also.
- Remember, you can stand in a colour pool the same colour as your character, but you can't stand in an opposite colour pool to your character. Remember also if any players are KO'd, that they can only be revived by a player with the same colour. This needs to be taken even more into consideration with the Exobyte Overcharge mechanic in the elite version.
- Some groups may prefer to go into the boss encounter with less players on purpose, so the Exobyte Overcharge mechanic is less of an issue despite the boss fight likely taking longer.
- Once you have defeated Reprogrammed Oracle-Bot, Oracle will regain control of the robot and you have completed the raid.
- *This walkthrough is not yet complete, and is subject to future updates.
Rewards
- 10 Source Marks, Loot Items
- 1 Catalyst (Augments)
- Birds of Prey: Large Treasure Box (members/owners only)


Briefings and Investigations
Feats
- And Stay Down: Defeat the first boss fight in Birds of Prey: The Clock Tower (Normal or Elite) without allowing either enemy boss to revive after being knocked out. (25 points)
- Disarmingly Simple: Complete Birds of Prey: The Clock Tower (Normal or Elite) after disabling all Trap Drones in and out of a boss fight. (25 points)
- Don't Stand So Close: Defeat Reprogrammed Oracle-Bot in Birds of Prey: The Clock Tower (Normal or Elite) without triggering Exostatic by being too close to another player of the opposite polarity. (25 points)
- Drone Pile: Complete Birds of Prey: The Clock Tower (Event, Normal, Or Elite) after destroying all Trap Drones in and out of a boss fight. (25 points)
- Droning On: Defeat the first boss fight in Birds of Prey: The Clock Tower (Normal) without disabling or destroying any Trap Drones. (25 points)
- First Try: Get past the server room in Birds of Prey: The Clock Tower (Normal) without missing any security sequences. (10 points)
- Network Hackery: In Birds of Prey: The Clock Tower (Event, Normal or Elite), hack into Oracle's network via vulnerable terminals throughout the Clock Tower. (10 points)
- Network Restoration: In Birds of Prey: The Clock Tower (Event, Normal or Elite), protect Oracle's network by securing vulnerable terminals throughout the Clock Tower. (10 points)
- Repulsed Bots: Defeat Reprogrammed Oracle-Bot in Birds of Prey: The Clock Tower (Normal) without knocking out any ORCL Pulse-Bots. (25 points)
- Watch Where You're Standing: Defeat Reprogrammed Oracle-Bot in Birds of Prey: The Clock Tower (Normal or Elite) without anyone triggering an opposite polarity Exobyte Overcharge field. (25 points)
- Elite
- Smackdown Six: Defeat the first boss fight in Birds of Prey: The Clock Tower (Elite) after allowing the enemy bosses to revive at least six times in any combination. (25 points)
- Elitely Droning On: Defeat the first boss fight in Birds of Prey: The Clock Tower (Elite) without disabling or destroying any Trap Drones. (25 points)
- Repulsed Bots Elite: Defeat Reprogrammed Oracle-Bot in Birds of Prey: The Clock Tower (Elite) without knocking out any ORCL Pulse-Bots. (25 points)
- Untrapped Resources: Complete Birds of Prey: The Clock Tower (Elite) without activating any non-boss Trap Drones. (50 points)
- You've Been Server Roomed: Get past the server room in Birds of Prey: The Clock Tower (Elite) without missing any security sequences. (10 points)
Trivia
- Upon defeating the Reprogrammed Oracle-Bot, the song " Make Me", sung by Black Canary, plays. It is the second song with lyrics in the game, after "Sea Shanty" in Metal Pt. II: Damage Control.
- The Leaderboard in this raid sometimes display a player to have healed tens of millions of damage, even if they are not healer and has used no healing abilities. This is likely due to smashing health barrels.
- In a cutscene, Black Canary refers to Reprogrammed Oracle-Bot as Kill Bot 3000. This may be an easter egg to the Kill Bot 3000 boss encountered during the Earth 3: The Escape raid.
- The Exobyte Overcharge mechanic in the last boss encounter was originally in the normal (and at the time event) versions of this raid, however it was later taken out.
- The feats Network Hackery and Network Restoration are only available depending on what faction version of the raid you are in. This is one of the only pieces of content in DC Universe Online that if players want both of these feats they will need to access both their own and the other faction version of the raid. For example heroes accessing the villain version of the raid, or villains accessing the hero version of the raid, as well as their own respective faction versions.