
Overview
- Death Metal
- Dark Knights: The Source Wall is a tier 6 8-player raid in the Dark Knights episode. It also features an elite and an elite plus version.
- Combat Rating: 350
- Event version: Level 12+
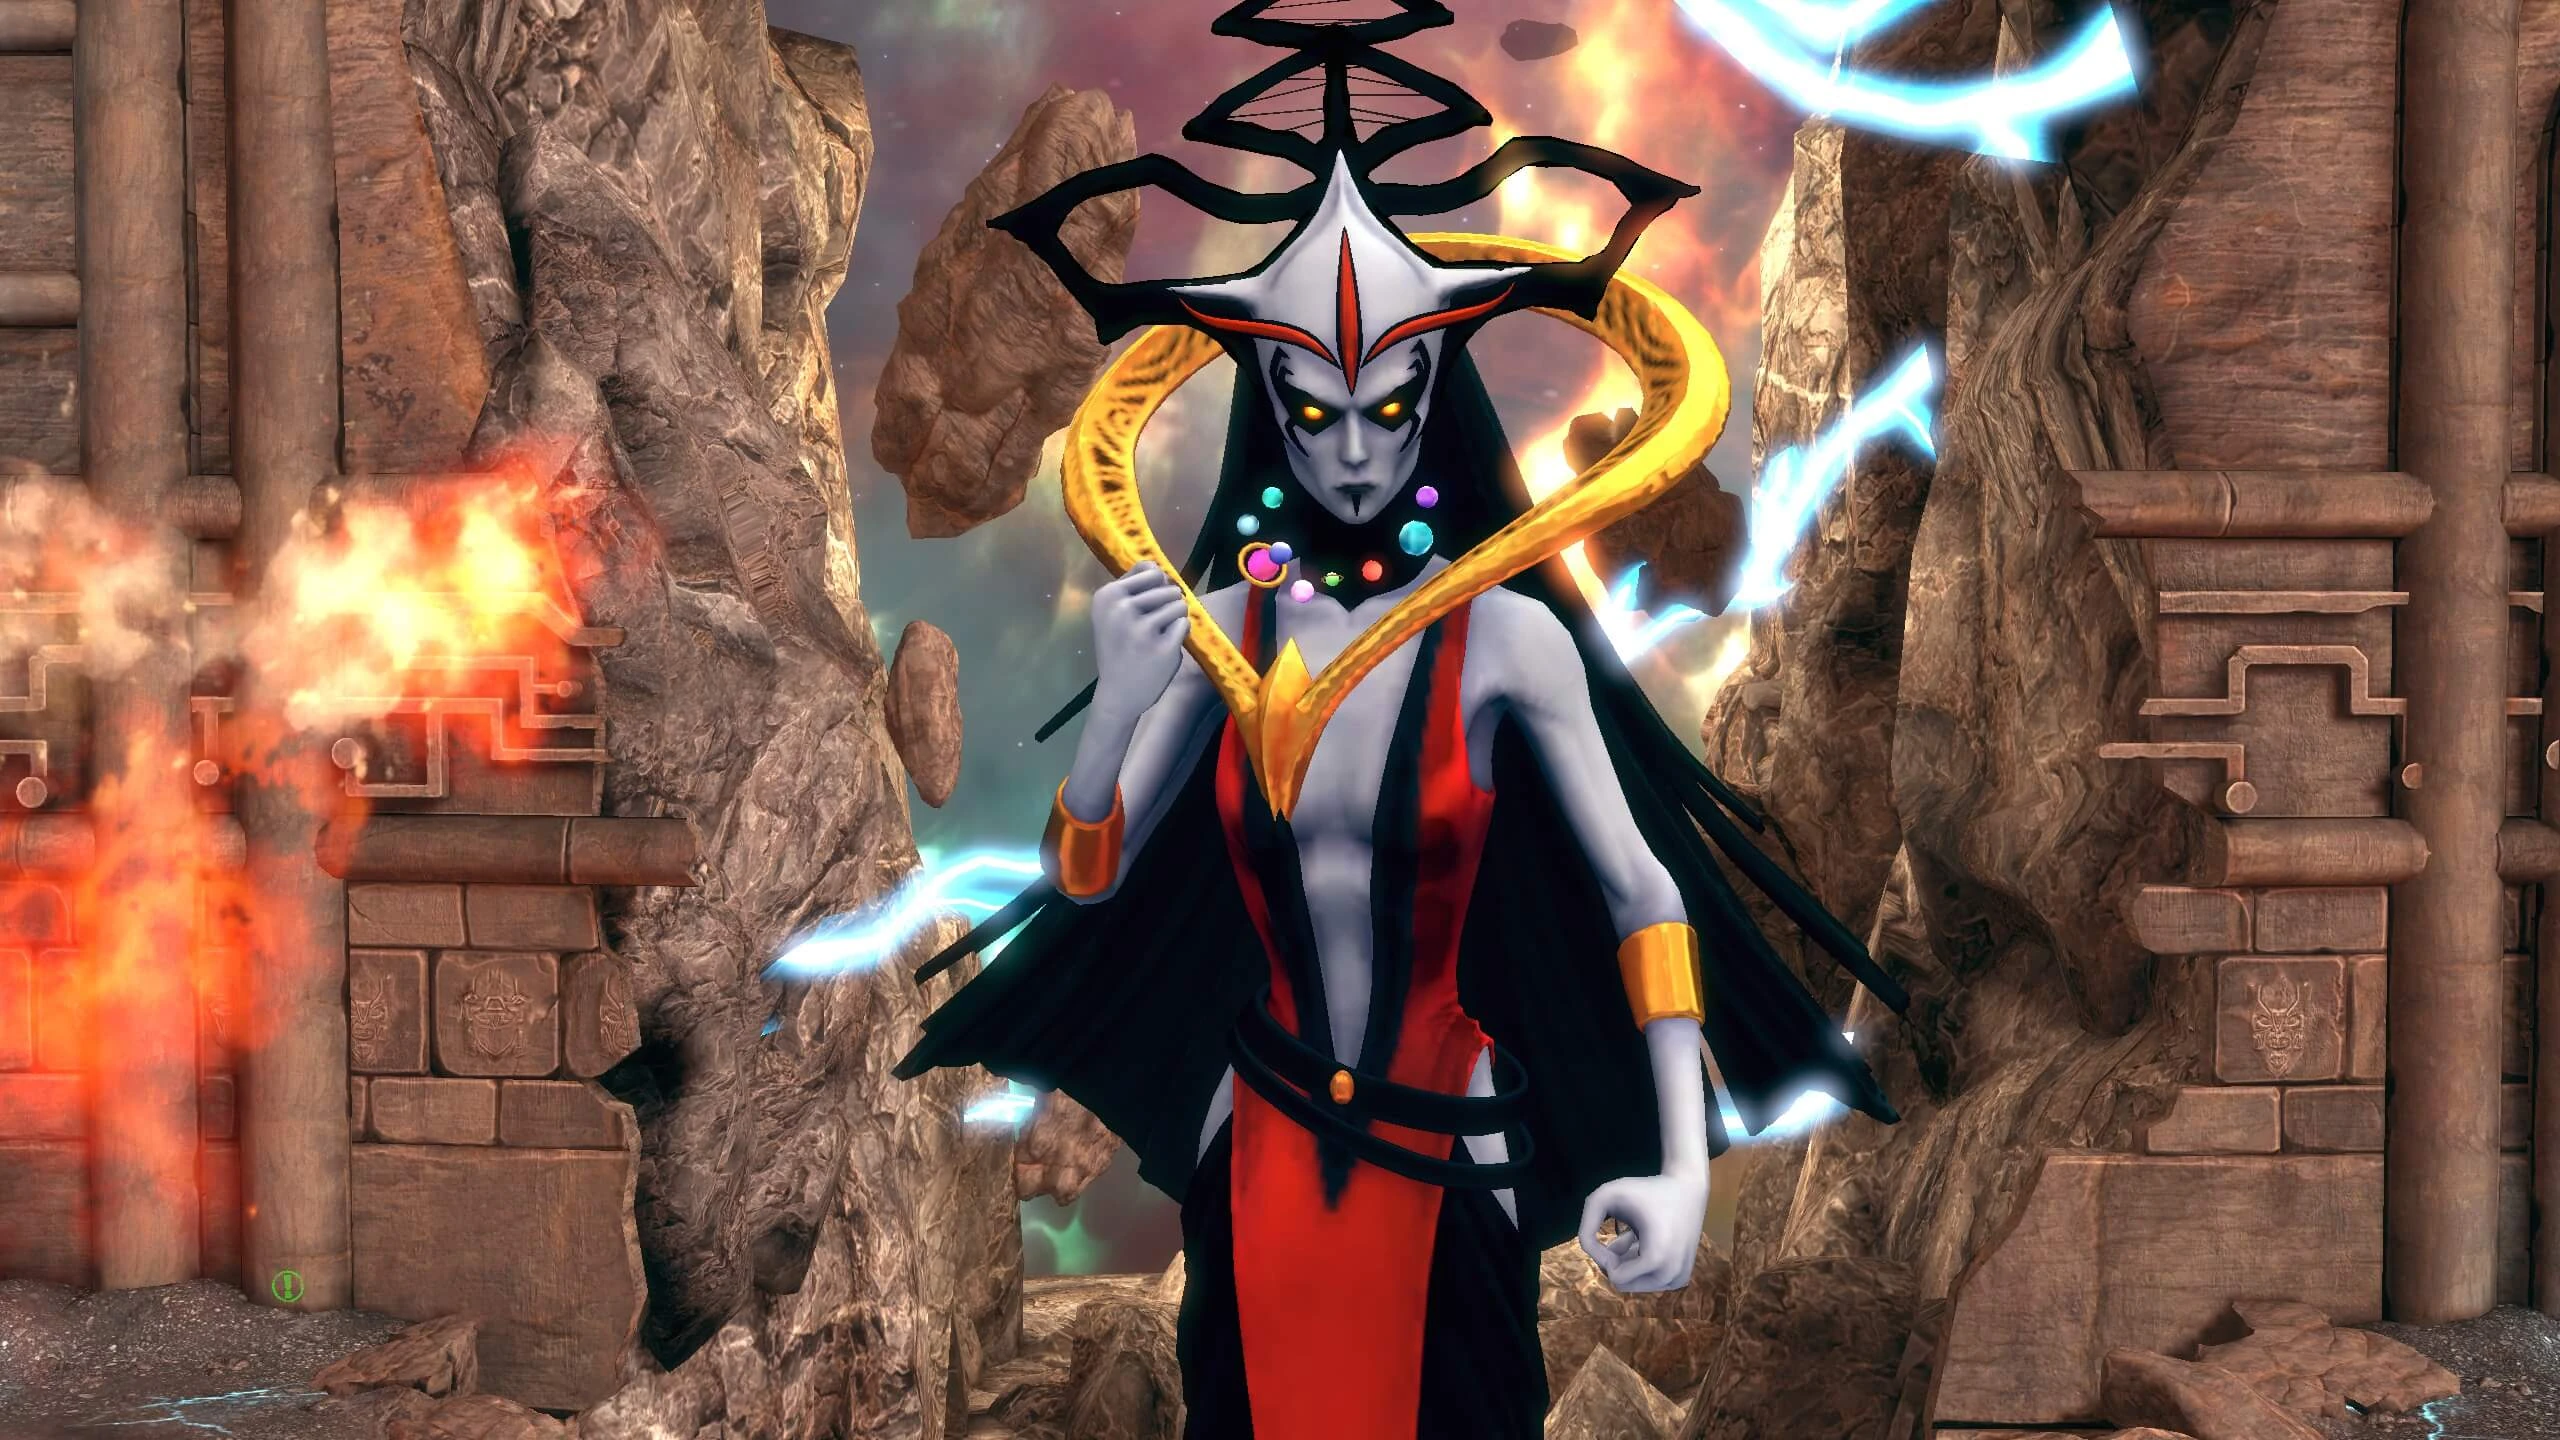

Story
- It's time to take the fight to Perpetua! Meet Wonder Woman at the Source Wall and be ready to fight to preserve the Multiverse.
Characters
- Lex Luthor
- Wonder Woman (Death Metal)
- Batman (Death Metal)
- Superman (Death Metal)
- Perpetua
- One Who Laughs
- Jakkec (Source Titan Lord)
- Kerbac (Source Titan Lord)
- Proma (Source Titan Lord)
- Theon (Source Titan Lord)
- Dawnbreaker (Dark Knight)
- Devastator (Dark Knight)
- Red Death (Dark Knight)
- The Drowned (Dark Knight)
- The Merciless (Dark Knight)
- Murder Machine
Related article links (5)
Lex Luthor · Perpetua · One Who Laughs · Devastator (Dark Knight) · Murder MachineLocations
- The Source Wall
Related article links (1)
The Source WallMap
Objectives
- Meet with Wonder Woman and Lex Luthor
- Defeat Apex Predators
- Gather Source Wall Rubble from defeated Source Titan Lords (4) [ First Boss Fight]
- Defeat Dark Knights [ Second Boss Fight]
- Defeat One Who Laughs [ Third Boss Fight]
- Defeat Dark Minions!
- Defeat Perpetua [ Final Boss Fight]
- Gather Source Wall Rubble from defeated Source Titans (5)
- Leave the Source Wall
Related article links (6)
Wonder Woman · Lex Luthor · Source Wall · Dark Knights · One Who Laughs · PerpetuaWalkthrough
- You enter the instance and run through a short hallway to where Perpetua looms over you. The raid takes place for the most part in one large area.
- You will fight 2 waves of adds, before a cutscene introduces the first boss encounter.
- Overarching mechanics in all boss fights (while Perpetua is big):
- 1. Giant Perpetua's Eyebeam - Perpetua may point at the bottom left or bottom right of the room before spawning a large Source Beam and moving it across the room. This must be avoided or it will do heavy damage and probably KO in elite. For best practice try not to stand at a beam spawn point (the bottom left/right of the room) at all times during the fight and always have situational awareness of Perpetua and what is happening around you, especially in elite plus. (This may sometimes be credited in the combat log as Divine Source Eyebeam)
- 2. Planet Strike - Perpetua may spawn several meteors on the group - this is indicated by a large pink AOE. Players should move away from this or it will do heavy damage or probably KO in elite.
- 3. Source Eruption - Perpetua may make the ground light in some areas*. This should be avoided as it will spawn a source orbital attack in the area of effect. If players are directly affected by this it will do heavy damage or probably KO in the elite version. (Players usually refer to these as 'cracks' due to the design of the AOE)
- *Note: Be careful if you use a Supply Drop while having a levelled Philosopher's Stone artifact equipped, as the animation from the artifact proc may limit visibility of Source Eruption AOEs as they appear.
Related article links (1)
Philosopher's StoneFirst boss: Source Titans: Kerbak, Jakkec, Theon and Proma
- Recommended roles for regular: 1 tank, 1 controller, 1 heal, 5 DPS Recommended roles for elite: 2 tanks, 1 controller, 1-2 heals (1 preferably), 3-4 DPS Recommended roles for elite plus: 4 tanks, 1 controller, 1 heal, 2 DPS
- On PS, Hold Square to lunge
- On PS, Hold R1 to block
- A fairly straight forward boss encounter in regular, and somewhat challenging but doable in Elite and Elite Plus.
- Mechanics:
- (Remember the overarching Perpetua AOE mechanics are present in this fight)
- 1. After a time adds will spawn. Be especially careful of the Fearseeker, as this may do a reflect skull ability. Be also careful of the Skullcrasher adds, as they may charge. In elite if they charge a player/s it is probably going to KO a non-tank player/s on impact if not evaded. If these adds aren't defeated then more shouldn't spawn, so as long as players can mind mechanics like charge/reflect then they can just focus on the Source Titan sub bosses.
- 2. Source Eyebeam: All of the Source Titan bosses may have a chance of individually pointing at a particular player while having a skull icon above their head. They will then fire a Source beam at that player. This should be blocked or evaded or it will do big damage. Other players should also avoid any AOEs left behind by this.
- 3. Frost Blast - Jakkec/Proma/sometimes Kerbak may do a skull icon above their head before doing a frost cone attack. Players should not be in front of this as it will do big damage, however this can be countered if a player lunges the boss when this occurs. This may sometimes be displayed as Ice Spray in the combat log.
- 4. Shamed Ascension - Proma/Kerbak (after losing some health) will look at a player with a skull icon above their head, and after a delay they will fire a light beam at that player, dealing damage and stunning the affected player in the air. When the affected player breaks out of the stun they will do damage to nearby players. This can do moderate damage or more if other players are close by. In Elite Plus this will KO if the player doesn't block - make sure also when you breakout that other players aren't close by (or are blocking) or they will likely take large damage or be KO'd.
- 5. Eternal Anguish - Proma may do a skull icon while shaking her fist. In elite, players should block when this occurs as it is followed by her Eternal Anguish AOE ability. This can do major damage or can KO players who aren't blocking. There is usually around 3 ticks of damage while this attack occurs, however it is only the initial stomp/tick of damage which should be blocked. Depending on the group's shield rotations/gear it is possible to survive without blocking in regular/elite.. NOTE: Depending on the damage of the group towards Proma it is possible for Proma to do this ability 1-4 times in succession, so prepare accordingly - block the initial stomp and the heal should heal the group where possible.
- 6. Theon may charge the group on occasion, this is indicated by a skull icon. This does moderate damage and some knock back. He may then stomp the ground ( Melee Stomp). It is best practice to avoid Theon while he charges or does this. Kerbak may also charge the group but less often.
- 7. Demoralize - Jakkec may spawn a golden AOE field, this does moderate damage over time if players are stood in it. It will also ground and slow movement of players that are stood in it. This is mostly likely to spawn on a player in mid or close range, so ensure that you are max range from Jakkec especially if you are a non-tank role.
- NOTE: When you defeat a Source Titan sub boss (Kerbak/Jakkec/Theon/Proma) they will have a cog (with a timer) which you have to interact with. If you for some reason don't activate the cog before its timer runs out the sub boss will respawn again at approximately 45% health. Anyone in the group can do this but it is preferred for a controller or second tank to activate the cog while the heal is healing the group and the DPS are burning the next sub boss or any adds that might be of risk to the group. Failing to do this for Proma may jeopardise the Proma's Anguish feat if you are defeating Proma first, so don't forget to do this.
- Differences/considerations in Elite Plus:
- For more information, please see the Advanced Walkthrough.
Related article links (1)
Advanced WalkthroughSecond boss: Dark Knights (Devastator, Dawnbreaker, The Drowned, The Merciless, Red Death, Murder Machine)
- 4 of these will spawn in total; 2 will be there from the start of the fight and 2 more will spawn later.
- In elite, 5 will spawn in total, starting with 3.
- Recommended roles for regular: 1 tank, 1 controller, 1 heal, 5 DPS Recommended roles for elite: 2 tanks, 1 controller, 1-2 heals (1 preferably), 3-4 DPS Recommended roles for elite plus: 4 tanks, 1 heal, 1 controller, 2 DPS
- On PS, Hold R1 to block
- A mostly straight forward boss fight in the regular version provided players know when to block certain mechanics. Fairly challenging but doable in the elite version. The elite plus version of this boss fight is one of the most difficult boss fights in the entire game.
- Mechanics:
- (Remember the overarching Perpetua AOE mechanics are present in this fight)
- Devastator
- 1. Breath Attack - Devastator may do a cone AOE attack, this should be avoided - indicated by a red AOE tell. If you are in the area of effect you will take damage over time in all versions of the raid but it shouldn't KO with sufficient heals - even then it is unnecessary damage to take so just avoid it if possible.
- 2. Spike Wave - Devastator may point at a player while having a skull icon above his head. He will then do his Spike Wave cone attack. This will do heavy damage/KO and knock back if any players in front of him don't block or evade this mechanic.
- 3. Sometimes if a player is close enough Devastator will point at a player while having a skull icon above his head. Devastator will then jump over and do a stomp attack. This will KO anyone who is directly affected by this attack, so players should move out of the way. (In elite, the tank should keep Devastator far to the other side of the room so this should be unlikely to happen, however in elite plus this may be a more likely occurrence.)
- - In elite plus Devastator may do 2 and 3 back to back. It is unlikely that he will do 2 Spike Waves back to back or jump to a player twice back to back but in any case prepare accordingly.
- Dawnbreaker
- It is best practice to not be in melee range of Dawnbreaker, due to some of his skulls including Mangle or Outrage. These can do heavy damage or KO if the player is too close.
- Dark Construct Strike - Dawnbreaker may do a skull icon before raising his fist in the air. Orbitals will spawn on all players in range - these should be avoided straight away or they will do heavy damage/KO.
- The Drowned
- 1. Spinning Cyclone - The Drowned may do a skull icon before spinning in the air. Does heavy damage at melee range.
- 2. The Drowned may do a skull icon before activating a Bubble shield that reflects incoming damage from players. You can currently DPS through this in regular/elite with a competent healer in group.
- 3. The Drowned (after she has lost some health) will have a skull icon above her head and wait for a short time. Players should block. The Drowned will then do her Call of the Deep attack on all nearby players in range. Any non-tank players that don't block this WILL be KO'd, regular or elite version. Block for a second or two longer after the animation as sometimes a brief damage over time will occur on nearby players after the animation.
- The Merciless
- Do not use a Supply Drop or Orbital Strike on The Merciless (Elite) under any circumstances. - If you use an Orbital Strike on The Merciless, he will have a skull icon before doing a slam attack. If this isn't blocked any player in the fight will be KO'd from this, and even with a block your health will be low, so with other mechanics it may KO anyway. (Seemingly this isn't the case in Elite Plus, although it may not be working as intended)
- Shockwave: The Merciless may do a skull icon before doing a slam cone attack. The tank should ensure that The Merciless isn't facing the rest of the group, and block.
- Divine Retribution: The Merciless will do a skull icon, before raising his sword in the air and trying to pull players in. This can be annoying with other AOE mechanics and can lead to tricky RNG situations depending on the timing or positioning of players. This may also deal damage over time to players in close range to The Merciless when this occurs.
- Sometimes The Merciless will raise his sword in the air and do a mild Chain Lightning attack, which does mild to moderate damage to all players in range and some crowd control.
- The Merciless (after he has lost some health) will spawn unattackable Godkillers, which will follow group members, doing knock back and damage over time ( Spinning Cleave*). These should be avoided if possible. These should disappear after The Merciless is defeated. In Elite Plus as the fight is longer they may disappear then re-appear after a time while The Merciless is active. *(Players may refer to these as 'blades', 'axes', 'spinning axes' or 'spinning blades')
- Red Death
- Not much to speak of in regular or elite.
- 1. If you have a red arrow, Red Death will point at you then teleport to you and do moderate melee damage ( Super Speed Multi-Punch). This should be evaded.
- 2. If you are melee/midrange, sometimes Red Death will hard stun you and you will need to spam a button to break out.
- Murder Machine
- 1. Murder Machine will do a skull icon before shooting projectiles in the direction he is facing ( Bolt Barrage). He will then throw several grenades on the floor in front of him ( Grenade Launcher). If you are in front of him you should go max range and block. If the grenades hit you they will knock back and do significant damage, perhaps KO in elite.
- 2. Murder Machine will do a skull icon before sitting down and generating a shield. This should be countered/lunged by a player or it will heal MM and then do significant AOE damage to anyone in range. Try not to give Murder Machine immunity when he does this.
- 3. Sometimes Murder Machine will do a Cable Smash ability which may do damage and knock back anyone in midrange of that ability.
- Other mechanics:
- Rebuked Isolation and Infectious Ire (below) usually occurs some way into the fight. This is usually from shortly after the last Dark Knight spawns (second additional boss) onwards. In elite plus this also occurs shortly after 2 Destroyer adds spawn along with the last Dark Knight. Rebuked Isolation will occur first and then Infectious Ire after.
Related article links (1)
Advanced WalkthroughSecond boss: Dark Knights (Devastator, Dawnbreaker, The Drowned, The Merciless, Red Death, Murder Machine) (continued 2)
- Rebuked Isolation: One player will receive a green stack marker with a timer. As many players as possible should group up on this player in time before the timer ends to mitigate incoming damage (this occurs when the timer runs out), while minding other mechanics. In Elite, if no-one does this this will likely wipe the group.
- Infectious Ire: One player will receive a red proximity marker with a timer. This player should go away from the group or it will do significant damage or KO nearby players, if the timer runs out when the affected player is close to other players. (In Elite Plus most/all players in the group will receive this red proximity marker)
- Considerations/Differences for Elite Plus:
- For more information, please see the Advanced Walkthrough.
Third boss: One Who Laughs
- Recommended role setup (for regular/elite): 1 Tank 1 Heal 1 Controller 5 DPS (some groups may consider 2 heals but 1 is preferred as you will need to damage and KO adds fast). (For Elite Plus): 2 Tank 1-2 Heal 1 Controller 3-4 DPS (Some groups may consider 3 tanks for the add phases instead of a second heal, some groups may be fine with a solo heal and 2 tanks)
- A relatively straight forward fight in both regular and elite versions. In Elite Plus somewhat trickier.
- Mechanics:
- (Remember the overarching Perpetua AOE mechanics are present in this fight)
- 1. Dark Impale - One Who Laughs may target a player with a white AOE that may hard stun them until they breakout. This does mild to moderate damage over time. If other players are nearby they will also receive this hard stun.
- 2. Contagious Laughter - One Who Laughs may infect a player with a laughing gas which does some damage and stun. If they are nearby to other players they will also take some damage and be stunned as well.
- 3. Irrational Dread - One Who Laughs may give players a purple AOE attack, which does damage over time. If other players are close by, the AOE may stun and move players for a time. The stuns may interfere with player's rotations if they don't spread out.
- 4. As the fight continues, Dark Tentacles will spawn. It is best practice to avoid going near these while minding other mechanics, as if you are caught by a tentacle you will take damage over time until either the group focuses damage on the tentacle to free you, or you are knocked out. NOTE: When the Dark Tentacles spawn, there will be a dark animation tell on where they are going to spawn. Players should stand away from these or if the Dark Tentacle spawns on a player that player will be knocked back and take large damage - most likely a KO in the elite versions.
- 5. Chain Pull - One Who Laughs will pull all group members to him and hard stun them. Be mindful of breakout timings as this can do damage to nearby players - if too many players breakout at the same time this may lead to KOs especially with other mechanics ongoing. You should try to breakout and roll away before OWL punches the ground ( Ground Slam), although in regular/elite this doesn't do a lot of damage. Ground Slam can knock back players in range and possibly KO players in melee/midrange, especially in elite plus.
- 6. At approximately 60%/30% of One Who Laugh's health, One Who Laughs will disappear for a time. Darkness AOE pools will spawn, which do damage over time if players are stood on them. These pools spawn adds (Dark Minions) which the tank should aggro and group up. They should be defeated by the DPS as soon as possible while minding the AOE mechanics - they do a lot of damage to the tank if they aren't KO'd quickly. Some of the Dark Minions may use a minor reflect ability.
- Differences/Considerations in Elite Plus:
- There are more tentacles to deal with, and as such try to KO the tentacles.
- One Who Laughs may sometimes teleport and do a pull attack. There will be a tell beforehand where he does a dance and laughs hysterically, so this should be called out and players should block. The pull attack may lead to messy situations with the overarching AOE mechanics or tentacles or both if not blocked. This can also make reviving players tricky in some cases.
- Callous Anger: There is a tank swap mechanic, so at least 2 tanks are highly recommended. The One Who Laughs will do a shout emote on one tank (Tank A) and give that tank a red aura. This tank should mitigate any form of incoming damage, and the other tank (Tank B) should aggro One Who Laughs during this time. Later One Who Laughs may do another shout emote at Tank B and then Tank A (with the red aura gone) can aggro One Who Laughs. If a tank takes a lot of damage while having the red aura he may get KO'd and this may lead to a messy situation. Callous Anger may also do raidwide damage to the group when it progresses into further stages. NOTE: This boss encounter is not solo tankable at the current time in elite plus. If one tank continues to get a red aura and is the only tank who has the aggro of One Who Laughs, it may lead to a group wipe. It is imperative that 2 tanks continue to swap aggro of One Who Laughs.
- Stunning Force: One Who Laughs will look at a player, slowly raising his hands with a wave motion, and that player will receive a white aura and white arrow. The affected player will be stunned. When that player breaks out they will do a raidwide AOE attack on the group dealing some damage. If players aren't immune or blocking when this breakout occurs they will be knocked back.
Last boss: Perpetua
- Recommended role setup (for regular/elite): 1 Tank 1 Heal 1 Controller 5 DPS. (Some groups may consider 2 healers or 2 tanks but this isn't necessary, however in elite plus 2 tanks is recommended)
- A straightforward and somewhat interesting fight if players know where to stand, when to block and to KO Source Titans during add phases, otherwise can be long and potentially tricky. Probably the easiest fight of the raid in the Elite Plus version besides one tricky mechanic.
- On PS, Hold R1 to block, hold L1 to target lock
- Mechanics:
- (The overarching Perpetua AOE mechanics are present during the add phases/Giant Perpetua phases. During small Perpetua phases they are not there.)
- Small Perpetua phase (3 in total)
- Perpetua's Infinite Source Beam: Perpetua may point at a player while having a skull icon above her head. The player will receive a white arrow followed by a Source Beam attack. This player MUST block (regular, elite or elite plus) for the duration of the Source Beam animation or they will do huge damage to the other group members and most likely cause a group wipe.
- Tip: Target lock Perpetua even during the soul phase so you can keep an eye on her when she does this ability (also if you are stood in the area of effect and get hit by this beam and you aren't blocking you can also wipe the group, so try to stay away from the affected player if possible).
- Audio tell: "Maybe you should just explode!"
- Onscreen text pop-up: "Block to Avoid Overloading when Targeted by Perpetua's Immortal Eyebeams!"
- This may also be displayed in the combat log as Immortal Source Eyebeam, especially from the point of view of other players being hit by another group member's beam if that group member is the target.
- Perpetua will shield, mitigating damage done to her. She will then transform 3 players and those players will lose their abilities. Those 3 players will have a yellow/orange/red marker above their head respectively, and will then need to interact with 2 souls (3 souls in elite) of the same colour marker in order to regain their abilities again.
- There will be onscreen text when this occurs, stating: "Reclaim Fragments of your Soul to Recover your Power!"
- Dwarf Planet Strike - During the latter two small Perpetua phases, Perpetua will spawn small red orbital AOEs on all group members several times in succession (2-6 times). These should be avoided or they will do large damage and most likely KO (especially in elite) a non-tank player.
- Flame Surge: Perpetua may spawn a pink AOE on herself, attempting to pull players in range towards her, and dealing considerable damage. This may also leave affected players with a damage over time for a short period ( Flame Burst).
- Giant Perpetua phase (2 in total at approximately 60%/30% health)
- KO 5 Source Titans as soon as possible and collect their rubble to progress the phase. NOTE: Some of these Source Titans may spawn the Demoralize AOE mechanic that Jakkec uses in the first boss encounter. Players should evade these as well as other AOE mechanics. If players stand in the Demoralize AOE they will take moderate damage over time and be grounded, so try to stay out of it if possible.
- Be careful of Fearseeker adds or Skullcrusher adds. You can KO Apex Predator adds however more will spawn in their place.
- There will also be a number of Source Energy Trail AOEs which will move through the map ("Your existence has been rewoked"). This does damage over time ( Source Scorch) if players stand in it.
- Considerations/Differences for Elite Plus:
- During the soul phase Perpetua has a shield. In the Elite Plus version this is a reflection mechanic - and extremely deadly for the entire time it is active if anyone does damage to Perpetua while the shield is active. This includes Robot Sidekick, pets, henchmen, combat allies, Grimorum Verum, Quislet, Strategist Card proc, etc. ANY damage being done to Perpetua that is in some way from a player in a group will do large damage to the whole group via the reflection from her shield and will most likely cause a group wipe. As such do not use any pets/henchmen/combat ally etc. and be vigilant with artifact procs especially if you are a Might DPS and especially if you use any damage over time abilities.
- The Infectious Ire proximity marker mechanic from the second boss encounter returns in this fight, and again affects most or all players in the group.
- Dead Planet: Every so often during the small Perpetua phases, small coloured planet orbs will spawn which players will need to interact with before their timer runs out. If players fail to interact with these in time they may cause debuff mechanics to occur for the group. For example, a heal debuff will mean healing out for the group from the heal will be significantly less for a short time. When activating a coloured orb, that player will get debuffed themselves, rather than a raidwide debuff.
- Expand
- (Original walkthrough courtesy of TheLQ-DCUO)
Briefings and Investigations
Feats
- Last Dark Knight Standing (Event or Normal): Defeat each Dark Knight last during their fight in The Source Wall Raid (Event or Normal): (50 Points); Dawnbreaker; Devastator; The Drowned; The Merciless; Murder Machine; Red Death
- Lords in Order: Defeat the Titan Lords in a specific order in The Source Wall Raid (Normal, Elite, or Elite Plus): (25 Points), grants title: the Titan Lord; Theon, Jakkec, Kerbak, Proma; Jakkec, Proma, Theon, Kerbak; Proma, Kerbak, Jakkec, Theon; Kerbak, Theon, Proma, Jakkec
- Perpetual Relief (Normal): Complete The Source Wall Raid without any players being hit by Planet Strike, Source Energy Burst, or Divine Source Eyebeam (Normal) (25 Points)
- Please Don't Squeeze (Event or Normal): Defeat One Who Laughs without any players being grabbed by a Dark Tentacle during The Source Wall Raid (Event or Normal) (25 Points), grants title: the Ignored
- Preying on Predators (Normal): Defeat Perpetua after defeating 18 Apex Predators in her fight during The Source Wall Raid (Normal) (25 Points)
- Proma's Anguish (Normal): Defeat Proma within 32 seconds of starting the Titan Lords fight in The Source Wall Raid (Normal) (25 Points)
- Stronger Together (Normal): Defeat the Dark Knights without taking more than the minimum damage from Rebuked Isolation in The Source Wall Raid (Normal) (50 Points)
- Source of Life (Normal): Complete The Source Wall Raid without any players getting Knocked Out (Normal) (25 Points), grants title: of Life
- Remember the Titans (Normal): Defeat and collect Source Wall rubble from all four Titan Lords within 15 seconds of the first one to fall in The Source Wall Raid (Normal) (25 points)
- We Owned The Knights (Normal): Defeat all of the Dark Knights within 12 seconds of the first one to fall in The Source Wall Raid (Normal) (25 Points)
- Elite
- Ex-Squeeze Me (Elite): Defeat One Who Laughs without any players being grabbed by a Dark Tentacle and after defeating all of them during The Source Wall Raid (Elite). (25 Points), grants title: the Unnoticed
- Feel the Squeeze (Elite Plus): Defeat 24 Dark Tentacles while they are constricting someone during The Source Wall Raid (Elite Plus) (25 Points), grants title: The Twisted
- First and Last Dark Knight Standing (Elite or Elite Plus): Defeat each Dark Knight last during their fight in The Source Wall Raid (Elite or Elite Plus): (50 Points); Dawnbreaker; Devastator; The Drowned; The Merciless; Murder Machine; Red Death
- Gotta Have Soul (Elite or Elite Plus): Defeat Perpetua after every player collects their soul fragments within 12 second during The Source Wall Raid (Elite or Elite Plus) (25 Points)
- Isn't Apex Enough? (Elite Plus): Defeat The Source Wall Raid without allowing any Apex Predators to enrage (Elite Plus) (25 Points)
- Isn't Apex Enough? (Elite): Defeat The Source Wall Raid without allowing any Apex Predators to enrage (Elite) (25 Points)
- Out of the Darkness (Elite Plus): Defeat One Who Laughs after defeating all Dark Minions within 10 seconds of one another in each darkness phase during The Source Wall Raid (Elite Plus) (25 Points)
- Out of the Darkness (Elite): Defeat One Who Laughs after defeating all Dark Minions within 10 seconds of one another in each darkness phase during The Source Wall Raid (Elite) (25 Points)
- Perpetual Relief (Elite or Elite Plus): Complete The Source Wall Raid without any players being hit by Planet Strike, Source Energy Burst, or Divine Source Eyebeam (Elite or Elite Plus) (25 Points)
- Preying an Predators (Elite or Elite Plus): Defeat Perpetua after defeating 24 Apex Predators in her fight during The Source Wall Raid (Elite or Elite Plus) (25 Points), grants title: Apex
- Proma's Anguish (Elite or Elite Plus): Defeat Proma within 28 seconds of starting the Titan Lords fight in The Source Wall Raid (Elite or Elite Plus) (25 Points)
- Stronger Together (Elite or Elite Plus): Defeat the Dark Knights without taking more than the minimum damage from Rebuked Isolation in The Source Wall Raid (Elite or Elite Plus) (50 Points)
- We Owned The Knights (Elite): Defeat all of the Dark Knights within 8 seconds of the first one to fall in The Source Wall Raid (Elite) (25 Points)
- We Owned The Knights (Elite Plus): Defeat all of the Dark Knights within 8 seconds of the first one to fall in The Source Wall Raid (Elite Plus) (25 Points)
- May the Force be with None of Us (Elite Plus): Defeat One Who Laughs without anyone being knocked back by Stunning Force in The Source Wall Raid (Elite Plus) (25 Points)
- Share the Hate (Elite Plus): Defeat One Who Laughs without allowing his Callous Anger to progress beyond it's initial stage in The Source Wall Raid (Elite Plus) (25 Points)
- Source of Life (Elite): Complete The Source Wall Raid without any players getting Knocked Out (Elite) (25 Points), grants title: of the Source
- Source of Life (Elite Plus): Complete The Source Wall Raid without any players getting Knocked Out (Elite Plus) (25 Points), grants title: the Source of Life
- Apex Denial (Elite Plus): Defeat the Dark Knights without allowing an Apex Predator Destroyer to unleash their Atomic Boom during The Source Wall Raid (Elite Plus) (25 Points)
- Remember the Titans (Elite): Defeat and collect Source Wall rubble from all four Titan Lords within 12 seconds of the first one to fall in The Source Wall Raid (Elite) (25 points)
- Remember the Titans (Elite Plus): Defeat and collect Source Wall rubble from all four Titan Lords within 12 seconds of the first one to fall in The Source Wall Raid (Elite Plus) (25 points)
- Planetary Alignment (Elite Plus): Defeat Perpetua without ever allowing a Dead Planet to affect all players in The Source Wall Raid (Elite Plus) (25 points)
Related article links (6)
Last Dark Knight Standing (Event or Normal) · Devastator · Murder Machine · title · One Who Laughs · PerpetuaTrivia
- During the second boss encounter, you are not allowed to use an Orbital Strike or Supply Drop on The Merciless during the normal or elite versions of the raid, however you can during the elite plus version.
- If a player receives the Rebuked Isolation green stack marker, and then is knocked out before the timer runs out on it, the Rebuked Isolation will not impact the group.
- This is the first time in DC Universe Online that players get to see the Source Wall, despite references to it through much of the content released previously.
- This is likely to be the only released DCUO content to get an in-depth Advanced Walkthrough on its Wiki page, due to how scaled up, long, variable and difficult the second boss encounter is or can be.
- The world first legitimate completion of the feat We Owned the Knights (Elite Plus) was completed in early March 2023 (nearly 10 months after release), on US PC/PS server by a mixed group from leagues Allusive, Versed and Ethos.
- The world first legitimate completion of the feat Source of Life (Elite Plus) was completed in late January 2023 (over 8 months after release), on US PC/PS server by hero league Versed.
- This raid is the conclusion to the ongoing Metal storyline that started with Episode 35: Metal Part I in September 2019.