Overview
Story
- With the Trident of Poseidon in hand, Ocean Master and Mera are ready to confront the usurper, Corum Rath. Find a way through the deadly Crown of Thorns and inside the Palace!
Characters
- Iconic Allies
- Mera
- Ocean Master
- Iconic Bosses
- King Shark
- Murk
- Mobs
- Aquamancer
- Coralmancer
- Drift Gregari
- Drift Soldier
- Drift Tirones
- Sea-Touched Atlantean
- War Magus
Map
Walkthrough
- Warning: This section might contain spoilers!
- Mera, wielding the Trident of Poseidon, leads Orm and the team through an undersea cave, hoping to be able to enter the Palace under the Crown of Thorns.
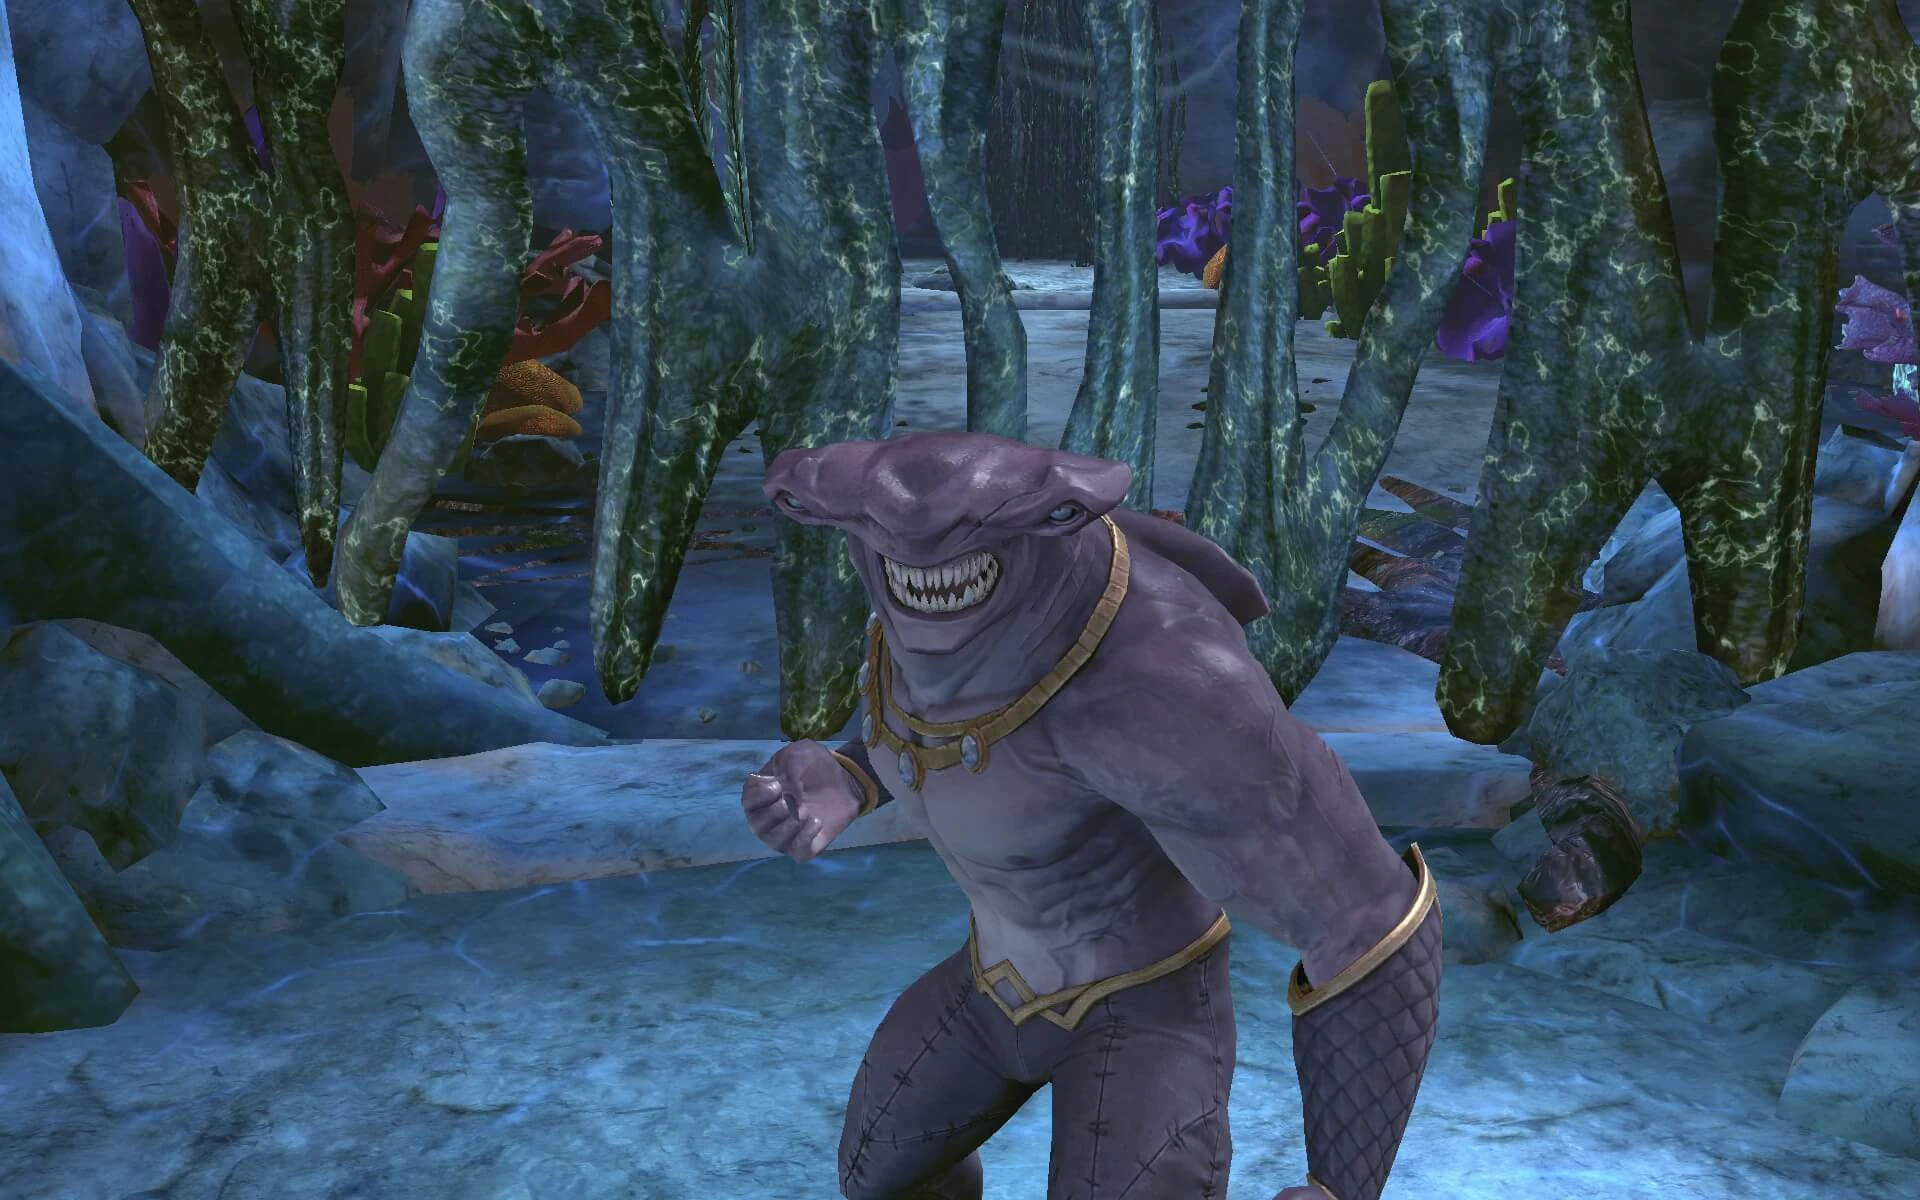
- You are stopped by King Shark in the first chamber after the entrance, who intends to take the Trident and topple Corum Rath for himself and his people.
- Note: Throughout this raid instance all group members will be swimming (a variation of flight/skimming). As such some movement mode abilities won't be able to be used unless you have special consumables ready.
Related article links (1)
King SharkFirst boss: King Shark
- Mechanics:
- King Shark will have a red skull icon while looking at a random player in the group. King Shark will then swim/charge towards that player. If that player gets out of the way in time, King Shark may knockback all players in range and do moderate damage ( Thermochemical Detonation). If the player doesn't get out of the way in time, King Shark will charge and stun the player and do his Feeding Frenzy attack, dealing heavy damage over time and stunning the player, and will likely lead to a KO. It may also affect other players in close range. Be careful when trying to revive a player who has been KO'd by Feeding Frenzy, as King Shark's melee abilities may heavily damage or KO that player also.
- Maelstrom: King Shark will spin around and around, dealing mild damage and some crowd control to affected players or pets. This will also spawn an underwater Whirlwind AOE which will travel around the map, and will do damage over time to any affected players it comes into contact with.
- Sea-Touched Atlantean adds may spawn to assist King Shark in battle. These should be KO'd by the DPS as soon as possible, or in the elite version you can have two tanks and have one tank keep the adds together while the rest of the group focuses on King Shark.
- Turbulent Roar: King Shark may sometimes do a roar cone attack in front of it. Does moderate damage.
- Spinning Cyclone: King Shark may sometimes jump up and spin in the air. Does heavy damage at melee or mid range, especially in the elite version.
- After defeating him, he will join your cause.
- You discover the Crown of Thorns block the path even beneath the seafloor. However, Mera has the crystal retrieved by Aqualad and the players, obtained by defeating the Crown of Thorns Golem in Atlantis: The Silent School.
Second boss: Construct and protect Thorn Golems
- This isn't a boss encounter as such, but it will reward loot on each of the successfully constructed Thorn Golems (mostly the third and last one).
- You must dig in the debris around the second chamber, and infuse the crystal with the roots (driftwood) of the Crown of Thorns, creating your own golem that can tunnel through the Crown, all the while fending off Drift soldiers. This process must be done for the third and fourth chambers as well. There is an orange restoration barrel in the northeast corner of the fourth chamber, hidden behind some red coral.
- It is recommended especially in the elite version not to KO any Drift Soldier adds until after the Thorn Golem has reached the gate for the next corridor/chamber. This is because more Drift Soldier adds will spawn and aim to attack the Thorn Golem straight away (the tank/s will need to be focused and pull any newly spawned Drift Soldiers away from the Thorn Golem. If the Thorn Golem is knocked out you will have to start the process over again.
- Note: There will be several areas in each chamber where you can interact with debris to find driftwood of the Crown of Thorns. It is completely random whether you will dig up nothing or one of the driftwood required to construct the Thorn Golem. The feat Four in a Row is completely RNG as a result.
- Periodically during this process there will be onscreen text stating: "The Current Begins Rushing Through the Caverns". Blue water currents will push all players back, and force some Drift Soldier adds to block. The wall near where you entered the chamber will have Impaling Spikes, and if group members get pushed back too far those players will take damage from the spikes. In elite this will deal heavy damage and may KO. There is a low chance that a Jellyfish may be blown in on the current, and if this comes into direct contact with a player that player may be stunned and take moderate damage, followed by a mild damage over time.
- In the final chamber, Mera confronts Murk, furious at his treachery against Arthur. Murk counters he is loyal to his king, Corum Rath, and orders guards to attack you.
Related article links (1)
barrelLast boss: Murk
- Can be a tricky boss fight in both regular and elite versions, and may require two tanks for best success (especially elite).
- Mechanics:
- Drift Soldier adds may join the fight to assist Murk in battle. If they are KO'd more will spawn in their place.
- There are certain adds that act as sub bosses: ' War Magus: Mechanics:
- Dismay: Red sorcery AOE. Deals damage over time to affected players who are stood in it.
- Bolt Barrage: (More info needed)
- Coralmancer: Many of the Coralmancer's damage abilities are similar to Earth power themed bosses. It is best practice to block if you see a red skull icon above Coralmancer's head. Mechanics:
- Grasping Hand: Coralmancer may grab a targeted player with a pink coral hand animation, stunning the affected player and dealing damage.
- Upheaval: Coralmancer may have a red skull icon above its head, before firing quick coral shards in various areas of the map. Can do mild to moderate damage, but it is best practice if the group (especially non-tanks) block.
- Tectonic Break: Coralmancer will have a red skull icon above their head before they lift into the air, spawning rocks around them. This may do considerable damage to players in range.
- (More info needed)
- Aquamancer:
- Constrictor Pull: (More info needed)
- Snake Bite: (More info needed)
- (More info needed)
- Mechanics: After some time and some of the sub bosses are defeated or at low health, Murk will join the fight. There will be onscreen text when this occurs, stating: "Murk Enters the Battle!". Murk: Mechanics:
- Gut Hook: Similar to a Tankbuster. Murk will have a red skull icon above his head while looking at the player who has the most hate (usually the tank), and doing a 'Come on' emote. He will then deal significant damage to that player, followed by a milder damage over time. This attack will go through any shields the target has, so have this in consideration (especially in elite).
- Battle Charge: Murk will punch the ground, grounding all players. He will then charge up to four times towards up to four random players in the group. If players are hit directly by this they will be knocked back and take significant damage (in elite for non-tank players it will likely KO).
- Considerations for the elite version:
- Two tanks are recommended, with one tank keeping the Aquamancer and other Drift Soldier adds well to the east side of the room, while the other tank takes War Magus and Coralmancer to the northwest of the room, and most of the group staying to the west side of the room.
- Normally the group will KO both War Magus and Coralmancer before focusing on Murk, and minding mechanics in the process.
- Voice chat may be recommended.
- It may be best practice for the main group to block if adds spawn on the northwest/southwest of the room, until the tanks have the adds aggro'd.
- After defeating him, he tells Mera to finish him, but she doesn't when Murk reveals he did not kill Aquaman; the latter is being kept, alive albeit injured and weak, in a back room, a sight even Orm reacts to in hopeful surprise. Mera places the trident over him to aid in his recovery, telling him he needs to rest before the upcoming battle.
Related article links (1)
the upcoming battleRewards
- Source Marks, Loot Items
- 1 Catalyst (Augments)
- Atlantis: Large Treasure Box (members/owners only)

Headlines
- The Jewel in the Crown! (Normal)
- The Jewel in the Crown! (Elite)
Related article links (1)
The Jewel in the Crown!Briefings and Investigations
Related article links (3)
Heraldry of Atlantis (Briefings) · Rise of the House of Rath (Investigations) · The Lost Crystals of Power (Briefings)Collections
Related article links (2)
Collections: Sentinels of the Atlantean Treasury · Collections: The Zodiac CrystalsFeats
- A Game of Thorns: During the Atlantis: Crown of Thorns (Elite) Raid, allow the Thorn Golems to be damaged so they use their Timber attack on 7 or more Drift Guards during a single run. (25 Points)
- Consolation Prize: During the Atlantis: Crown of Thorns (Normal or Elite) Raid, fail to dig up four pieces of driftwood in a row while constructing a Thorn Golem 25 times. (25 Points)
- Four in a Row: During the Atlantis: Crown of Thorns (Normal or Elite) Raid, dig up four pieces of driftwood in a row while constructing a Thorn Golem. (25 Points)
- On the Nose: During the Atlantis: Crown of Thorns (Elite) Raid, prevent King Shark from using his Feeding Frenzy on your group mates thoughout the encounter. (25 Points)
Trivia
- In the chamber where King Shark confronts you, you can briefly see him behind the back wall before the camera pans up and you see him swimming down to you instead.
- This instance has a few common bugs:; The Trident of Poseidon will not appear in Mera's hands during the cutscenes.; Mera's model disappears from the instance after the team gets through the Crown of Thorns, but her audio still plays during the following cutscenes.
Gallery